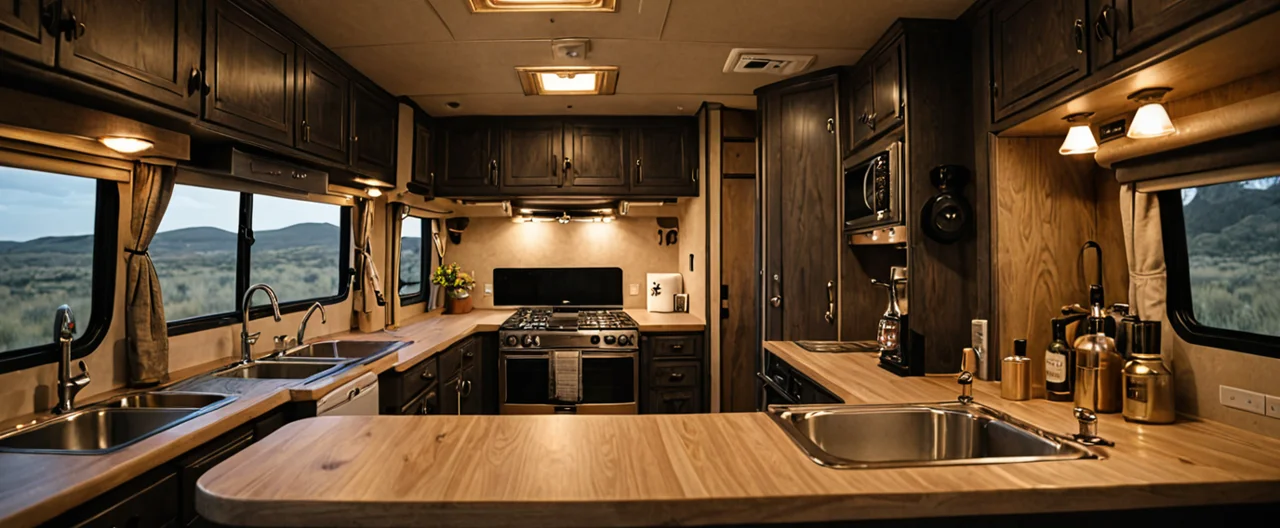
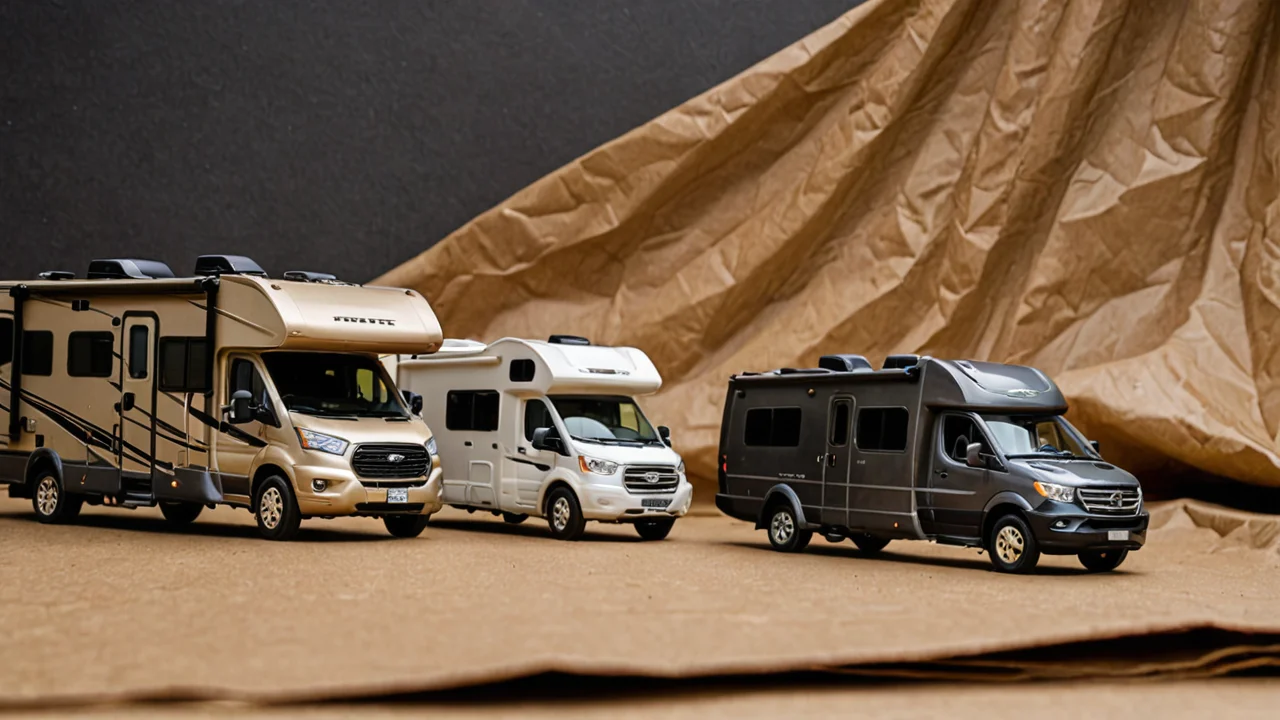
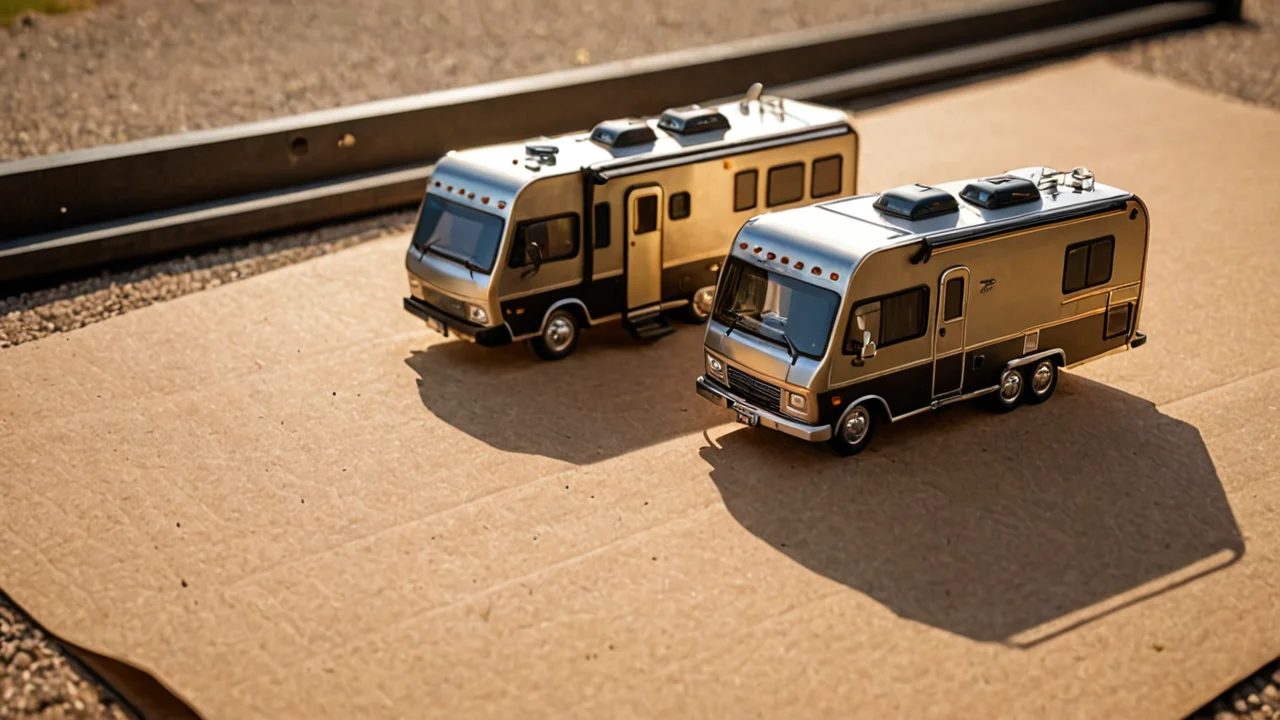


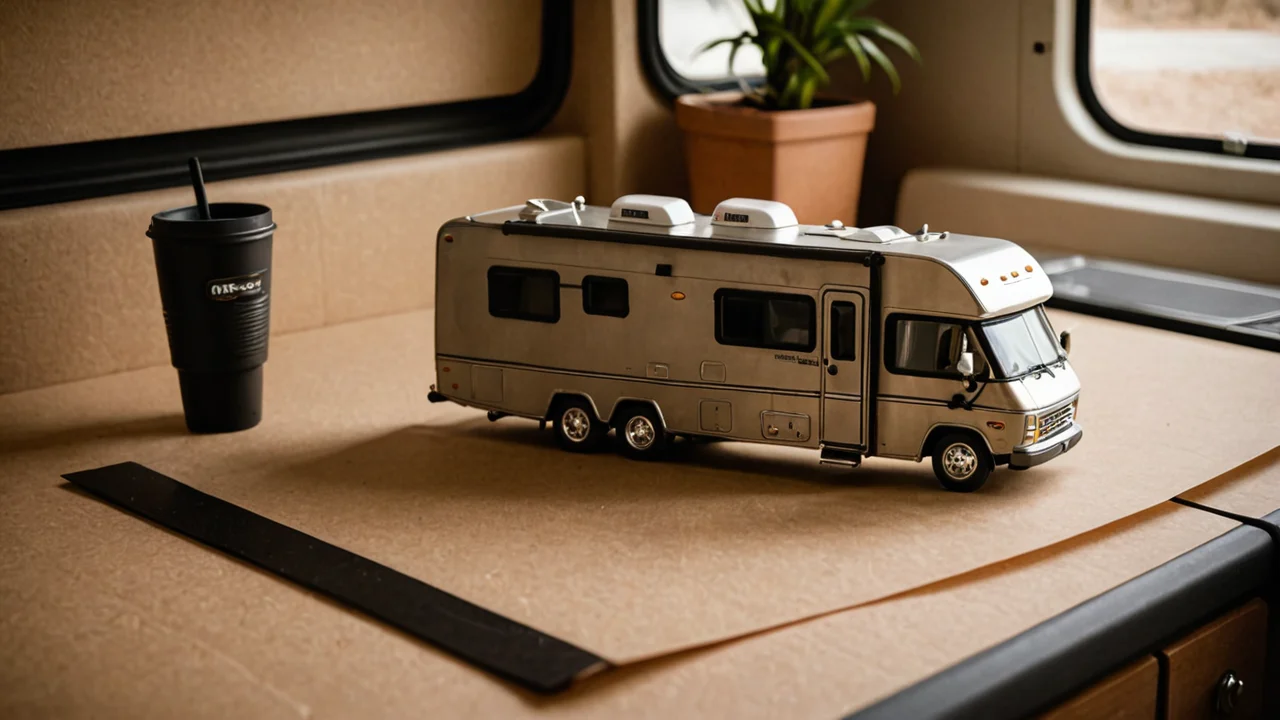
Design and style decisions in an RV are constrained by the vehicle before they are constrained by taste: the floorplan is set by the chassis, the chassis sets the exterior length, and the exterior length decides which campgrounds will take you. A 40 ft combined-length limit at Madison Campground in Yellowstone and at Fishing Bridge RV Campground is generous by national-park standards; Kalaloch in Olympic publishes 35 ft, and Heart o’ the Hills in the same park caps at 21 ft. Everything downstream — the slide-outs, the storage, the color palette, the amount of stuff you can carry — is a negotiation with those numbers.
Start with the shell, because the shell decides the style
The four RV classes are not styling categories, but they behave like them. A Class A motorhome is built on a bus or heavy commercial truck chassis with a fully integrated body, so the driving compartment and living quarters form one continuous interior. That continuity is what makes the residential look possible: full-height cabinetry, a galley that runs down one wall, a bathroom with a real door, materials chosen for looks rather than for weight. A Class C sits on a cutaway van or light truck chassis with a cab-over section above the driver that usually holds a bed or storage, and the driving compartment is part of the interior — which means the front of the coach always reads as a truck cab no matter how you finish it. A Class B camper van keeps the original van cab and fits sleeping, cooking and often bathing inside the compact van shell; there is no separate bedroom to style, only a convertible one. A travel trailer is towable, hitched to a tow vehicle rather than self-propelled, and offers sleeping, cooking and basic bathroom facilities inside an enclosed trailer body — the shell is a blank box, which is why trailers are where you see the most experimental interiors.
The practical consequence: the smaller and more integrated the shell, the more your design budget goes into clever hardware (folding tables, cassette toilets, lift-up beds) and the less it goes into finishes. On a Class A, the money goes the other way. If you want a specific look — mid-century, Scandinavian, industrial — pick the shell that can carry it before you pick the palette. Trying to make a cab-over Class C read as a minimalist apartment is a fight you lose at the overcab bunk.
Floorplan first, finishes last — and the order is not negotiable
Choose the floorplan before you choose a single finish, because almost nothing about the interior is changeable later. Slides, plumbing runs, the position of the bathroom and the location of the bed are baked into the structure. Reupholstering a dinette is a weekend; moving a dinette is a rebuild. The sequence that saves money is: measure your actual use (how many sleep, how often you cook inside, whether you work from the rig), pick the floorplan that fits that, then spend on surfaces, lighting and textiles, which are the only layers you can revise cheaply.
This is also where length limits come back in. A floorplan with a rear bedroom and a mid-coach bathroom needs length; a wet-bath and a convertible bed fits in a van. If your camping list includes older national-park campgrounds, the floorplan has to survive the length cap. Heart o’ the Hills at 21 ft combined is effectively a van or a small trailer with a short tow vehicle — a couple of feet over and you are not getting in, regardless of how good the interior looks. Build the shortlist of places you actually want to stay, check their published combined-length limits, and let that number veto floorplans early rather than after you have fallen for one.
The trade-off is real: the floorplans that photograph best are usually the longest ones, and the campsites that feel best are usually the oldest and tightest. Deciding which you value more is the single biggest design decision you will make, and it happens before any fabric is chosen.
Weight is a design material, and the most expensive one
Every finish in an RV is competing with payload. Solid-surface countertops, ceramic tile backsplash, hardwood doors, stone-look flooring — all of it is available, and all of it eats into the cargo capacity you need for water, food, people and gear. The professional move is to treat weight as a material with a price: lightweight plywood with a veneer instead of solid oak, aluminum framing instead of steel, acrylic instead of glass, vinyl plank instead of tile. Done well, the substitution is invisible. Done badly, it reads as plasticky and hollow, which is the criticism most stock RV interiors earn.
Where the weight budget shows up most is storage. Cabinets high on the wall need light doors and secure latches; drawers need positive locks, because a drawer that opens on a mountain pass is a design failure you clean up with a broom. Under-bed storage is the cheapest volume you have, and it is also where moisture collects — ventilation there matters more than the finish on the bed frame.
There is no formula here, and no honest number to quote for how much a given material swap saves; the variables are too many. The reliable method is to weigh the rig loaded, before and after a build, and to keep a margin rather than spending the payload down to the limit. If you are buying rather than building, the cargo-capacity figure on the door jamb is a design constraint in exactly the same way the length limit is.
Systems are style: lighting, power and water shape how a rig looks inside
Lighting is the highest-return design decision in any RV and the one most often left at the factory default. A rig lit entirely by cool-white ceiling pucks reads as a clinic; the same interior with warm dimmable fixtures, a reading light over each berth and a task light over the galley reads as a room. It costs little and changes everything, and it is one of the few upgrades that does not add meaningful weight.
Power and water systems push the interior around more than people expect. A larger battery bank and inverter take space that would otherwise be a wardrobe; a composting or cassette toilet removes the black tank and frees the plumbing run, at the cost of emptying it by hand. Where the systems live — under the bench, in the garage, behind a panel — determines which walls can be solid and which need access hatches, and access hatches are the enemy of a clean line. Design the access first and hide it second.
Winter is the other systems constraint with a design face. If the rig gets winterized, the water system is filled with RV-specific antifreeze rated for burst protection to -50 °F, and any design that buries a low-point drain or a bypass valve behind a finished panel turns a routine fall job into a demolition. Leave the plumbing serviceable. The cost is a visible hatch or two; the alternative is cutting into your own cabinetry every October.
Materials and finishes that survive a moving house
Specify for vibration and humidity, not for a showroom. An RV flexes and shakes constantly, so rigid materials crack and soft ones wear: quartz and granite are heavy and can chip at edges, tile grout fails, and high-gloss laminate shows every scuff. The finishes that hold up are the ones with some give and some texture — vinyl plank with a matte wear layer, laminate with a subtle grain, powder-coated metal, marine-grade fabrics, and oiled or lacquered wood rather than bare veneer. In a van or trailer, condensation is the constant enemy; surfaces that tolerate damp and can be wiped matter more than how they photograph.
Color is a functional choice in a small space. Light walls and a mid-tone floor make a compact interior feel larger; a dark ceiling makes it feel lower than it is. One strong accent — a cabinet run, a backsplash, upholstery — carries a small space without overwhelming it, and it is easy to change later. The classic mistake is treating the interior like a house: heavy drapery, deep pile rugs and multiple patterns all read as clutter once the slide is in and the space halves.
Where this approach costs you is resale. Neutral, well-made finishes hold value; a highly personal scheme narrows the buyer pool. If you plan to keep the rig, design for yourself. If you plan to sell, keep the structure neutral and put the personality in textiles and lighting, which come with you or come out cheaply.
The exterior is design too, and it has rules
The outside of the rig is a design problem with legal and practical edges. Decals and paint are the obvious layer, and the honest trade-off is that bold graphics date fast and are expensive to remove; a clean, simple scheme ages better and is easier to sell. Awnings, roof racks, solar panels and exterior storage all change the silhouette and the weight, and each one adds something that can fail in wind or leak at a penetration.
The exterior dimensions are also where the design meets the campground list directly. Combined length — motorhome plus towed vehicle, or truck plus trailer — is what the limits measure, so a toad or a long-bed tow vehicle counts against you. At a 40 ft limit you have room to work with; at 35 ft the margin tightens; at 21 ft almost nothing with a separate tow vehicle qualifies. That reality should shape the exterior spec as much as the interior: a shorter trailer with a well-organized exterior beats a longer one that cannot get into the places you want to stay.
Finally, exterior finish is maintenance. Matte and textured surfaces hide dust and road grime; gloss shows everything but cleans more easily. Neither is wrong — but pick one knowing which Saturday you would rather spend with a bucket.
The entry door, the step, and the first three feet inside
The threshold is where an RV interior design is won or lost, and it is almost always ignored. A travel trailer or Class A with a wide entry door, a stable fold-out step and a landing zone just inside — a place to drop shoes, hook a leash, set down a wet jacket — keeps the rest of the floorplan clean, because clutter gets stopped at the door instead of migrating to the dinette. A Class B camper van has no separate cab to hide in, so the same three feet of floor doubles as the galley approach; a folding step and a mat that actually grips are worth more than any backsplash.
Measure the door width against the way you actually load. Coolers, folding chairs and a dog crate all have to pass through, and a narrow door with a high sill turns every pack-out into a puzzle. The cost of prioritizing this is floor area — a generous entry eats living space in a compact shell. In a van, that trade is usually worth making anyway; in a long trailer, it is optional.
Storage you can reach without moving furniture
Good RV storage is defined by access, not volume. A deep under-bed cavity that requires lifting the mattress and stacking bins is storage on paper only; it becomes the place things go to be forgotten. The layout that works puts daily items in shallow drawers and open cubbies at hip and chest height, and reserves the deep lockers for seasonal gear you touch twice a year. Overhead cabinets need doors that stay shut and shelves low enough that a shorter person can see into them without a stool.
In a Class C, the cab-over section is the largest single storage or sleeping volume on the rig, and how you finish it decides whether it reads as a bunk or a cave. Lining it, adding a reading light and a proper curtain makes it a room; leaving it bare makes it a shelf. In a travel trailer, the pass-through compartment is the workhorse — organize it with labeled bins and a fixed layout so you notice when something is missing before you drive off.
The limit is weight again. Every drawer, bin and shelf is payload, and cabinets high on the wall need light doors and positive latches so nothing opens on a mountain pass. If you are short on cargo capacity, choose fewer, better-organized compartments over more cabinetry.