Tips and care for an RV come down to a handful of systems that fail in predictable ways: water, waste, seals, batteries, tires, and weight. Learn what each one does when it's neglected, and the maintenance calendar builds itself around the seasons rather than around a list of chores you found on the internet. Everything below is the decision layer — what to do, in what order, and what it costs you when you get it wrong.
Water: winterizing, sanitizing, and the two-minute check that saves a spring
Winterizing a travel trailer water system means pushing RV-specific antifreeze through every line until it reaches burst protection rated to -50 °F, not pouring a jug into the fresh tank and hoping. The number that matters is the protection temperature printed on the jug, and the failure mode is always the same: a low-point drain or an outside shower valve that got skipped, freezes, splits, and shows up as a wet floor in April after you've already de-winterized and filled the system. Repairing a cracked line behind a cabinet is a shop job; opening every faucet, letting the pump pull antifreeze until it runs solid pink at each fixture, and dumping a cup down each drain P-trap takes one afternoon.
The order matters. Drain the fresh tank and the water heater first — bypass the heater before you introduce antifreeze, or you'll spend a season trying to rinse the taste out of the hot side. Blow the lines with air if you have a compressor, then pump antifreeze. The trade-off is real: antifreeze costs money and takes a full flush in spring to clear, while air alone leaves a little water in low spots and depends on you holding pressure long enough at every fixture. Most people do both, air first, then antifreeze, because the combination is cheaper than one split fitting.
Sanitizing is the other half of the water calendar. Do it at the start of the season and any time the rig has sat with water in the tank for weeks in warm weather. The symptoms of a tank that needs it are unmistakable — a sulfur smell from the hot tap, cloudy water at the cold tap — and the fix is a chlorine dose, a full-tank soak, and a thorough flush until the chlorine smell is gone. Skip it and you'll blame the campground's water for something growing in your own tank. Water filters help with taste and sediment and do nothing about bacteria already in the system; they are not a substitute for sanitizing.
City water hookups are where most water damage actually starts, not in the tank. A failing pressure regulator lets campground pressure spike and stress every fitting and the water heater's inlet check valve. Carry an adjustable regulator and set it low rather than trusting whatever the post delivers. The cost is a few psi of shower pressure; the benefit is not replacing a crimp fitting inside a wall.
Waste tanks: the black tank rules that prevent the worst job on the rig
Empty the black tank first, then the gray, and never the other way around. The gray water rinses the sewer hose after the black tank has drained, and reversing the order leaves solids in the hose. That single sequence prevents most of the mess people associate with dumping, and it costs nothing to follow.
Keep the black tank valve closed until the tank is at least two-thirds full. A full tank dumps with enough volume and turbulence to carry solids out; a nearly empty one leaves a mound behind that hardens into a problem you'll smell before you see. If you're at a full-hookup site for a week, that means leaving the black valve shut and only pulling it when the tank is ready, even though the gray can stay open. The trade-off is one more thing to remember on departure day.
Use enough water per flush and skip the habit of leaving the black tank open. Tank treatments help with odor and breakdown but don't compensate for too little liquid. The tell that you've been too stingy with water is a tank sensor that reads a third full right after a dump, or a drain that runs slow and then stops — both mean solids are sitting where they shouldn't. A tank rinse wand or a built-in flush connection is worth the money for exactly this reason, and it's the single upgrade most people wish they'd made earlier.
Toilet paper matters less than the internet suggests, but it matters. Single-ply RV paper breaks down faster; thick quilted paper sits in the tank and contributes to clogs. Test any paper by putting a sheet in a jar of water and shaking it. If it's still a sheet after a few minutes, it belongs in the trash, not the tank. Hose and fitting care belongs here too: a sewer hose stored in its own sealed tote, rinsed after every dump, lasts seasons; one coiled wet in a bumper compartment cracks and leaks at the worst possible moment.
Seals, roof, and the leak you find too late
Inspect the roof and every sealant joint on a schedule, not when you notice a stain. Lap sealant around vents, skylights, and the antenna crank cracks as it ages, and the failure mode is water tracking along a rafter and appearing feet from where it entered — usually as a soft spot in the ceiling or a delaminated wall panel. By the time you see the stain, the damage behind it is weeks old.
The routine that works is a walk of the roof a few times a year and after any long trip: look for cracked or lifted sealant, re-caulk with the right product for the roof material (self-leveling lap sealant on horizontal surfaces, non-leveling on vertical), and check the dicor around every fastener. Eternabond tape is the honest shortcut for a failing seam — it's fast, it's ugly, and it holds. The trade-off is that tape looks like a repair and future buyers notice it, so use it where it solves a problem rather than as a substitute for doing the seam properly.
Slide-outs and windows are the second leak front. The slide-out seal is a rubber wiper that flattens and tears with sun exposure; treat it with a rubber conditioner and replace it when it starts leaving gaps. Window frames and marker lights are common entry points, and a bead of sealant on a marker light is a ten-minute job that prevents a rotted interior wall. The cost of staying ahead of this is a tube of sealant and an afternoon; the cost of falling behind is a delaminated sidewall, which is a structural repair and often the point where a rig gets sold rather than fixed.
Ventilation is part of the same system. Roof vents and fans move moisture out, and a rig that's sealed tight without airflow grows condensation and eventually mold on the ceiling. Keep a vent cracked in storage, run the fan when cooking and showering, and use a dehumidifier in humid climates. The sealant keeps water out from above; the ventilation keeps it from condensing on the inside.
Batteries and 12-volt power: what dies first and how you notice
Batteries die from neglect, not from age, and the neglect is usually depth of discharge. A flooded lead-acid battery drawn below half its capacity repeatedly loses capacity faster than one kept above that line, and the first symptom is a fridge that won't hold temperature overnight or a furnace that runs the fan but not the burner. Watch the voltage under load, not at rest — a resting reading of full is meaningless if it sags when the furnace kicks on.
The decision is chemistry and charging. Flooded batteries are cheap and need water checks; AGM batteries cost more and are maintenance-free; lithium costs the most and delivers usable capacity, fast charging, and a lifespan that often makes it cheaper per cycle over a decade of use. The trade-off is that lithium wants a compatible charger and won't charge below freezing without a heated version, which matters if you camp in cold weather. None of these choices fix a bad charging setup — a converter that never reaches the right voltage leaves any battery chronically undercharged, and that's the failure people misdiagnose as a bad battery.
Solar changes the math but not the fundamentals. Panels sized to your actual daily draw, a charge controller that matches your battery chemistry, and a shunt-based battery monitor that tells you state of charge honestly are the three pieces that matter. The monitor is the one people skip and regret, because without it you're guessing at capacity until the lights go out at 2 a.m. Shore power is the other failure point: a surge protector at the pedestal, a check of the plug for heat and discoloration, and never running the air conditioner on a marginal connection. A burned shore power inlet is a fire risk, not an inconvenience.
Tires, weight, and the numbers that decide whether you're safe
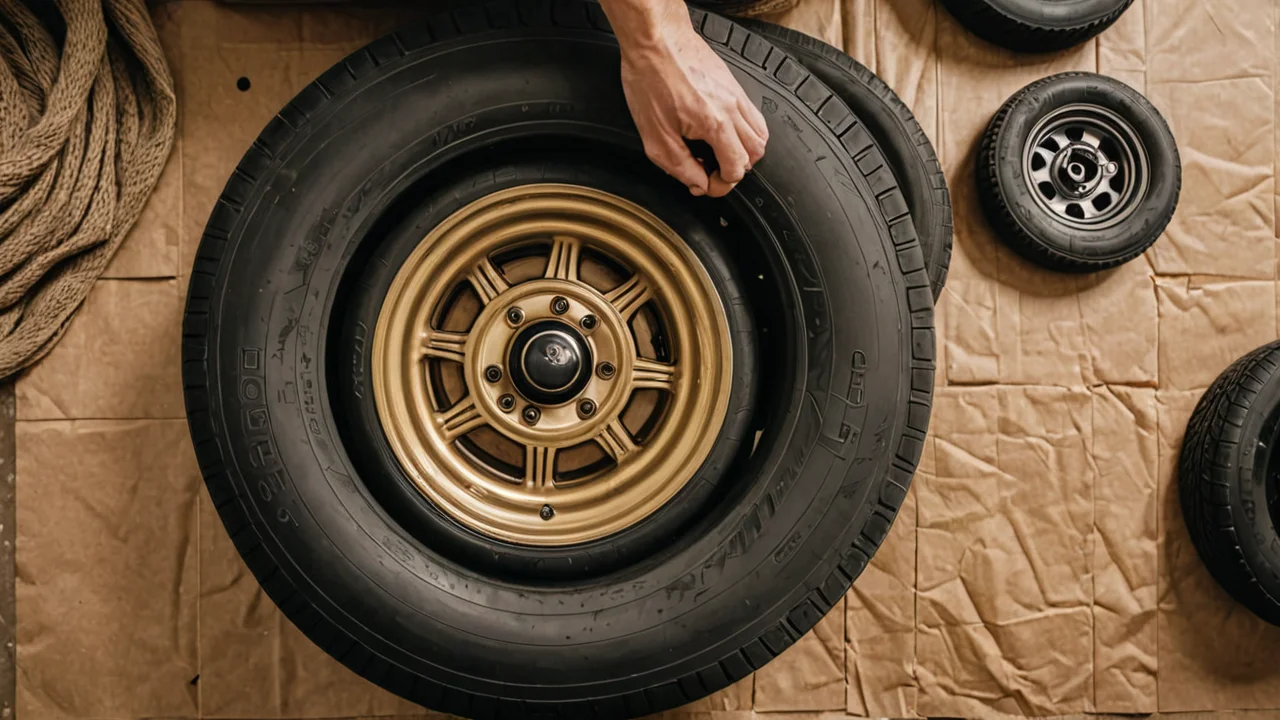
Check tire pressure cold, before driving, and inflate to the pressure on the vehicle's placard — not the maximum on the tire sidewall. Underinflation is the leading cause of RV tire failure, and the failure mode is a blowout on a hot highway because a tire that was low cold heated up and failed. The tell is a bulge or a sidewall that looks soft when you walk around the rig, but by then it's already dangerous. A tire pressure monitoring system pays for itself the first time it warns you at highway speed instead of after the tread separates.
Tire age matters more than tread depth on an RV. Trailer tires in particular age out before they wear out, so read the date code on the sidewall and replace on age even if the tread looks fine — a tire sitting in the sun for years is a tire waiting to fail. Inspect sidewalls for cracking and check the spare before every season, because a spare that's never been checked is a spare that's flat when you need it.
Weight is the other number that decides whether a trip is safe, and it's the one most people never measure. Load the rig for a trip, then weigh it at a CAT scale — each axle separately. Compare against the gross vehicle weight rating and, for a towable, the gross combined weight rating of the truck and trailer together. Overloading shows up as poor handling, sagging rear suspension, and tires running hot. The fix is unloading, redistributing, or accepting that the rig is too small for how you travel, and the last one is a hard conversation that's cheaper than a crash.
Brakes and bearings belong in the same pre-trip check. Trailer brakes need adjustment and a look at the shoes; wheel bearings need repacking on a schedule, and a bearing that's running hot or making noise is a roadside breakdown waiting to happen. The cost of repacking bearings is small; the cost of a seized bearing at speed is a wheel fire and a ruined trip. Hitch setup — weight distribution bars, sway control, and the correct ball height — is part of the same safety equation and worth getting right once rather than fiddling with at every hookup.
Trip planning and campground limits: the length number that cancels your reservation
Check the published combined-length limit before you book, because the number that applies is motorhome plus towed vehicle, or truck plus trailer — not the length of the rig alone. That distinction cancels reservations every summer. In Yellowstone National Park, Madison Campground and Fishing Bridge RV Campground both publish a typical limit of 40 ft combined as of 2026. In Olympic National Park, Kalaloch Campground publishes a typical 35 ft combined limit, and Heart o' the Hills Campground enforces a strict 21 ft combined limit as of 2026.
| Campground | Park | Combined length limit |
|---|---|---|
| Madison Campground | Yellowstone National Park | 40 ft (typical) |
| Fishing Bridge RV Campground | Yellowstone National Park | 40 ft (typical) |
| Kalaloch Campground | Olympic National Park | 35 ft (typical) |
| Heart o' the Hills Campground | Olympic National Park | 21 ft (strict) |
The practical takeaway is that a Class A motorhome flat-towing a vehicle, or a long truck pulling a travel trailer, can exceed a combined limit that sounds generous when you read it as "40 feet." Measure the whole combination — hitch to bumper — and write the number down. Then check it against every campground on the route, not just the destination. The same logic applies to a Class C with a toad, or a truck camper that's short enough for the tightest sites but still needs to fit the pad.
Length is only one constraint. Some sites have a low clearance or a tight turn that a long wheelbase can't negotiate regardless of the published limit, and a strict limit like 21 ft means a big rig simply doesn't go there. The trade-off is choosing between the campground you want and the rig you own, and the honest answer is that a shorter rig, or leaving the towed vehicle at a staging area, opens up campsites a 40 ft combination can't reach. Booking late and hoping the site fits is how people end up backing out of a loop at dusk.
The rest of trip planning is sequencing: reserve early where limits are strict, plan fuel stops around the rig's range and height clearance, and know the dump station locations before you need one. A rig that's been maintained on the schedule above is one where the trip is about the destination rather than the repair. The maintenance calendar and the route plan are the same project — both are about knowing your numbers before you leave rather than discovering them on the road.